One of the easiest and cheapest ways to reduce osteoarthritic pain is through regular exercise. This video demonstrates a variety of simple exercises that can be done at home.
Transcript
Mobility exercises. Start by doing each exercise once, slowly, carefully and gently and then gradually increase to five times each. Talk yourself through them so that you help to control your breathing.
Stretches
Neck
Start off with the neck. Sit straight on a straight back chair, keeping in mind good posture. Turn your head slowly to the left, look over your shoulder for two seconds, come back to the centre, stop, then repeat to the right. Turn, hold for two seconds and come back to the centre and stop.
Next one. Tilt your head to the left, hold it for two seconds, bring back to the centre and stop. Keep your shoulders down and relaxed. Then tilt to the right, hold for two seconds, come back to the centre and stop.
Fingers and thumbs
Now we’ll look at your fingers and thumbs. Look at the palms of your hands. We’ll do each hand separately, because your joint stiffness can be different on each hand. Bend the little joints of your fingers down, so you can see your finger nails. Then bend the knuckles so that your fingertips touch the palm of your hand. Then stretch your fingers wide apart and straight. Repeat on the other hand. Bend the finger tips down so you see the finger nails, bend the knuckles, into the, so the fingertips touch the palm, then straighten the fingers and apart.
For your thumb. Start with your hand flat. Take the thumb tip to the first fingertip. Squeeze gently, then stretch wide apart. Then take the thumb tip to the second fingertip, squeeze gently, stretch wide apart. Thumb tip to the third fingertip, squeeze gently, stretch wide apart. Then to the fourth fingertip, squeeze gently, stretch wide apart. Then repeat on the other hand.
Hips
Now we’ll move onto the bed and do some mobility exercises from the bed. You can do these on the floor if you’re confident to get on and off the floor, but it’s often wise to start on the bed.
The first one for your hips and knees, lying flat on your back on the bed with your knees bent and your feet flat on the bed. Bring your left knee up towards your chest. When it’s comfortable, you can give it a little extra pressure, with your right hand pulling to the middle of your chest. Keep your chin tucked down. Hold for a couple of seconds and then put it down carefully.
Then repeat on the right, lifting the right knee. Once it’s up as high as you can go, give it a little bit of extra pressure, with your left hand, hold a couple of seconds. One, two. Then put it down slowly.
Low back
The next one, for the low back. Put your arms apart. Feet together, knees together. Roll your knees over to the left. Hold a couple of seconds. Try and keep the chest on the bed. Then bring them back to the centre and stop. Then over to the right. Hold a couple of seconds, come back to the centre and stop.
Shoulders
For your shoulder, move down the bed a little, hold a roll of paper in both hands with the hands by the shoulders. Firstly straighten the elbows so that the hands go towards the ceiling. Then take your hands back behind you as far as you can go. Be careful, don’t force it. Then come back, then you can go back again. Then go back a few times, once you’re confident about it, and then come down.
Ankles and toes
Mobility exercises for the ankles and toes. Straighten one knee, move your foot and toes up towards you. Hold it for a few seconds, feel the stretch down the back of the calf, then point your toes and ankle. Don’t hold that or you might get a cramp. Then do that three times. Up, feel the stretch then point, using your toes at the same time and then replace it on the floor. And then do it on the other leg. Don’t do them both together. This puts too much strain on your back. Do this three times. Up, feel the stretch in the back of the calf, and down.
Straighten one knee, fully straight, move your toes on one foot up towards you so you feel a stretch in the back of your calf, hold it about three seconds then point your toes and your foot. Don’t hold that, you could get a cramp in the back of your calf. Up and point and up, two, three and point. Then replace it on the floor. Then do it on the other leg. Always do them separately, so that you, this puts less strain on your back. Up, two, three, point and replace.
Strengthening exercises
We’ll go on to some strengthening exercises, on your bed, again lying flat on your back, knees bent and your feet flat.
Legs
First exercise for leg muscles. Straighten one leg out, keeping your knees at about a level, with the foot up. Hold for five seconds. One, two, three, four, five. You need to keep your back flat the whole time and while you’re replacing the foot. We’ll try it on the other side and it’s an important factor of this exercise to keep the back flat, and the less pressure you have on the supporting foot, the more your core stability muscles, your tummy muscles will be effective.
So, back flat, light pressure on the supporting foot, straighten one leg out with foot out, hold one, two, three four, five seconds and then replace the foot again. I’ll demonstrate that one more time because it is a complicated exercise. Keep the back flat, light pressure on one foot, straighten the other leg out, knee straight, foot up. Hold one, two, three, four, five and replace. You might start off with just one on each side and gradually increase to ten on each side, doing them alternately.
Buttocks
Next exercise for the buttock muscles. Put your arms across your chest, press firmly into the bed with your feet and your head and lift your bottom up off the bed. It won’t come very far. Hold it one, two, three, four, five seconds and lower it down slowly. Try it one more time. Press the feet in, arms across the chest, tummy muscles drawn in, this helps your core stability, press down and lift your bottom for one, two, three, four, five seconds and down.
Legs
Now we’ll go on to some strengthening exercises sitting on a chair. Very slowly straighten one knee. Hold it straight with the foot up for one, two, three, four, five seconds, and lower it very slowly. Then repeat on the other side, lifting very slowly, straighten the knee, make the knee completely straight, foot up and hold one, two, three, four, five and lower it down slowly. Work towards thirty repetitions of that alternately on each leg. When you can manage those, put a small weight around your ankle, starting off with about half a kilo, 500 grams, but don’t add the weight until you can do thirty repetitions.
Next strengthening exercises we’ll go onto standing up. Try always to get out of a chair by using your leg muscles and not pushing down on your hands. Moving from sitting to standing, try to use your leg muscles strongly and not push hard on your hands. That keeps your leg muscles stronger.
Strengthening exercises for the leg muscles standing up. This is easy to do. Get a nice solid bench like kitchen bench, laundry sink or bathroom sink. Holding very lightly. Adjust it so that you keep your balance. Stand straight, draw in your tummy muscles, draw in your buttock muscles, raise the heels onto the balls of the foot, then lower slowly and rest for three seconds before you raise the heels again. When you raise the heels, very light pressure (on the bench), just so that you don’t feel like you’re going to topple over. Buttocks squeezed, tummy drawn in, raise the heels so that you’re rolling onto the balls of your feet, then lower and stop. To start off with, only do three at any one time so that you don’t get cramps in your calf muscles.
Next exercise on a solid surface, this is a solid surface for strengthening your leg muscles. Easy to do, standing, holding very lightly onto a solid surface. Like kitchen bench, bathroom sink, laundry tub. Just a light hold so that you don’t fall over. Squeeze the buttocks together, draw in your tummy muscles, roll onto the balls of your feet as you raise the heels and then lower down slowly. Rest with the heels down for three seconds before you raise again. Roll onto the balls of the feet and lower again the heels slowly. Only do about three to start off with or you could get cramps in your calf muscles. Make sure you keep your body weight well forward and your buttock muscles tucked in and you stand straight and tall.
Next exercise for your legs, very slowly walk around, or along the solid object to one side. Keeping the knees straight, the buttocks tucked in. Works the muscles at the sides of the hips. Don’t wobble. Keep your tummy muscles drawn in, walk very slowly, taking very small steps, around in one direction. And then back again. Kitchen bench is a good spot to do this.
Arms
The next exercise is for strengthening the arm muscles. It’s a good exercise for strengthening the arm muscles, holding your rolled paper in two hands again. You can do this sitting, it’s easier, or when you get good at doing sitting you can do it standing. Holding the paper close into your chest, gently straighten your elbows, so that your hands go out in front of your face. Keep your back against the chair. When you’re able to do that quite easily, you can then take it up above the head and bring it down. Keep the shoulder blades relaxed and the movement comes, feeling as though you’re pushing your hands up into the air. And down. Don’t hitch the shoulder blades.
Core (torso) muscles
When you’re able to do all the other exercises and are confident to get on and off the floor, this is a good exercise for advanced strengthening of your core stability muscles. Right, so on the hands and knees, looking down. We’ll lift one limb at a time, keeping your back very still, draw in the tummy muscles, lift one arm, hold it a second or two and bring it down. Then lift the other arm, hold it a second or two and bring it down.
Lift one leg behind you. Don’t arch your back, keep your back nice and firm and your tummy muscles drawn in, and bring it back in. Then straighten the other leg. Don’t arch the back, keep the tummy muscles firm and bring it back in. And you can increase the number you do on each limb.
Tips to help you walk well
Stand straight and tall, draw in the tummy muscles, take even length steps, using a good heel toe movement. If you’ve got one sore leg you need to use a walking stick in the opposite hand to support that leg. When you’re using a walking stick, it’s like marching. The opposite hand and leg go forward together, to allow the better leg to come through. A walking stick, while it’s not very fashionable will help you to walk further, keep your best stability, keep better balance, keep you safer, and allow you to walk further with less pain. If you walk and talk with a friend, it helps you to control your breathing.
Stand straight and tall, keep the tummy muscles drawn in, take even length steps using a heel toe movement. Try to keep your pace as brisk as possible.
More information
 |
For more information on the diagnosis, symptoms and treatment of Osteoarthritis, see Osteoarthritis. |
 |
For more information on the diagnosis, symptoms and treatment of Rheumatoid Arthritis see Rheumatoid Arthritis. |
All content and media on the HealthEngine Blog is created and published online for informational purposes only. It is not intended to be a substitute for professional medical advice and should not be relied on as health or personal advice. Always seek the guidance of your doctor or other qualified health professional with any questions you may have regarding your health or a medical condition. Never disregard the advice of a medical professional, or delay in seeking it because of something you have read on this Website. If you think you may have a medical emergency, call your doctor, go to the nearest hospital emergency department, or call the emergency services immediately.
Related Articles
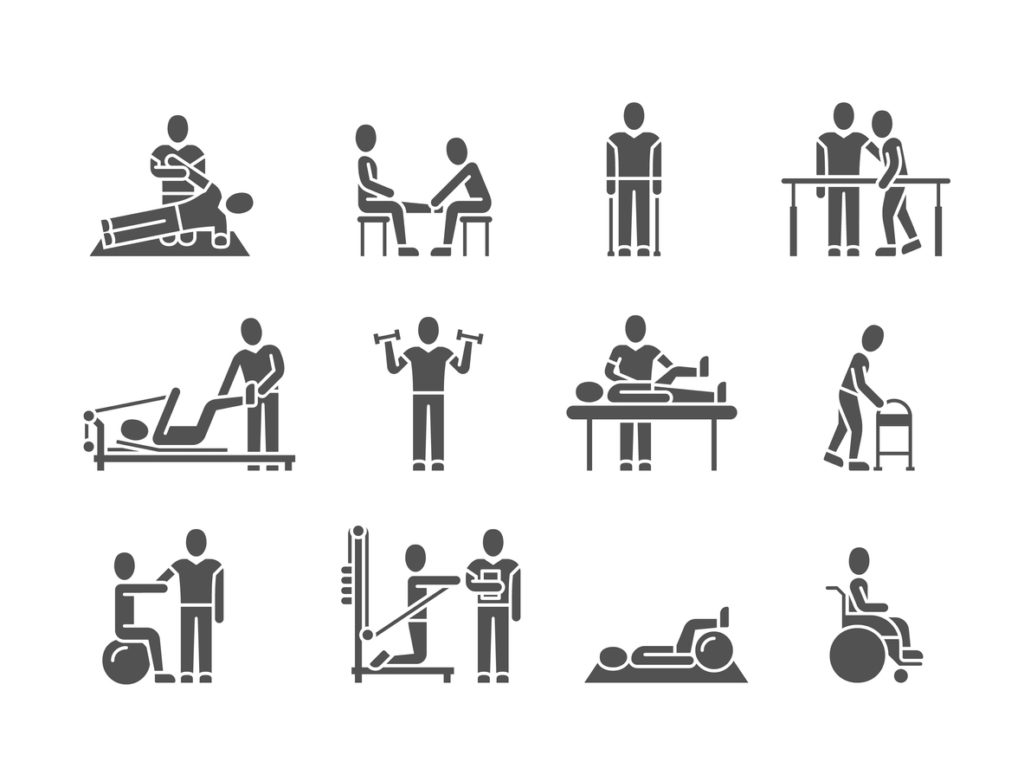
Physiotherapy is more than just recovering from a…
How can you get comfortable sleep to wake…
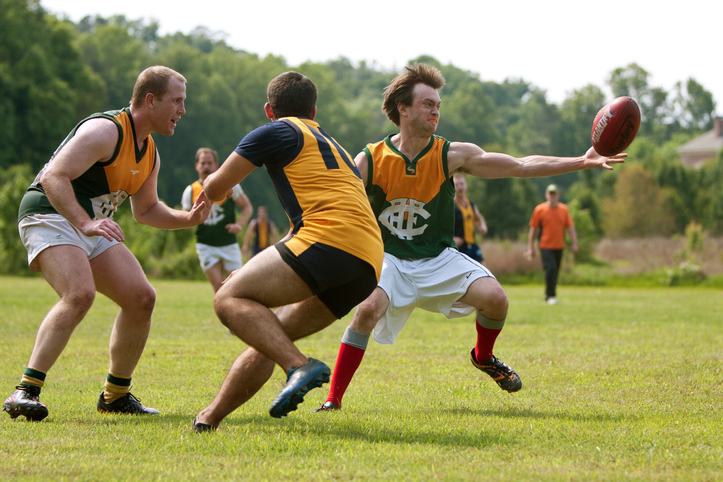
Jump To Introduction Common AFL injuries Hamstring strain…
Need a health appointment?
Find and book a doctor, dentist, physio and more on Healthengine
Find a practitioner